Nikko Hawg 1/10 RC car transmission steering column replacement
The Nikko Hawg RC car piece for the steering-transmission is made of ABS plastic and is held in place through two metal screws which eventually eat into the plastic, loosening the connection and preventing the steering from working. I ran out of replacement screws so decided to 3D print a redesigned piece with nut catchers that would not suffer from the same problem, you can find the STL files on our Deprogramming Obsolescence repository (along with editable OpenSCAD files in case you need to adjust the sizes for other similar Nikko cars). If you modify the designs can you share them back with the community please?
To be fair with Nikko, this piece has withstood on and off usage over the past 35 years, from well before things had a programmed obsolescence :-)

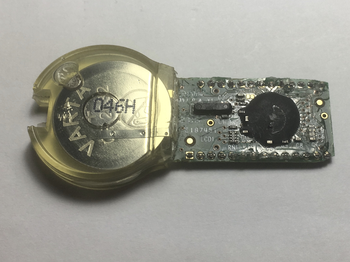
The issue is quite easy to diagnose: one of the wheels starts wobbling to the point that the car comes to a stand-still. When you inspect it closely you notice that one of the screws holding the transmission steering column is missing. This happens because the screw is held in place by threads cast into the ABS piece which eventually wear out and are unable to hold the screw in place:

The new piece has some simplifications over the original design to ease printing, but the key items and strength should be the same. The main change is the addition of an M3 nut catcher which is used to secure the screw, removing the reliance on the plastic:
The piece is symmetric, so you can print it for both the right and left sides of the car.
Considering the shape of the piece I printed it using supports so that the base of the “pipe” rests against the printer bed. While I printed the pieces in PLA it would probably be more sensible to print them in ABS, so they are not as brittle and can withstand the wheels hitting obstacles. I will keep you posted on how I fare.
Once printed the installation is quite simple. Start by removing the original piece from the car and disassembling it: remove the metal drive shaft that connects the transmission to the wheels and then the two white plastic rings that are attached to each end of the piece.

After transferring the rings and drive shaft to the newly printed part, install the two M3 nuts inside the nut catchers by sliding them in with your finger (or with the help of small needle-nose pliers), make sure the nuts are centered on the screw holes.

And that should be it, the result is a one-to-one replacement of the original piece, but with less concerns for losing screws in the middle of a driving session.